
Recording the perfect Instagram Reel often feels incomplete without a professional voiceover to guide viewers through tutorials, add commentary, or bring brand stories to life. Many creators struggle with Instagram's built-in audio limitations and finding the right voice that matches their content's tone. Adding a quality voiceover can transform ordinary clips into engaging content that captures attention and drives meaningful connections with audiences.
The process doesn't have to involve juggling multiple apps for recording, editing, and syncing audio. Professional-sounding narration can be layered over Instagram Reels quickly using streamlined tools designed specifically for social media content creation. Creators can master this technique in just a few simple steps using an efficient clip creator tool.
Table of Contents
- Why Creators Struggle to Add Voiceovers to Instagram Reels
- The Hidden Cost of Not Using Voiceovers in Reels
- 7 Steps to Add a Voiceover to Instagram Reels in 5 minutes
- The 5-Minute Instagram Reels Voiceover Workflow
- Create Instagram Reel Voiceovers in 5 Minutes with Crayo
Summary
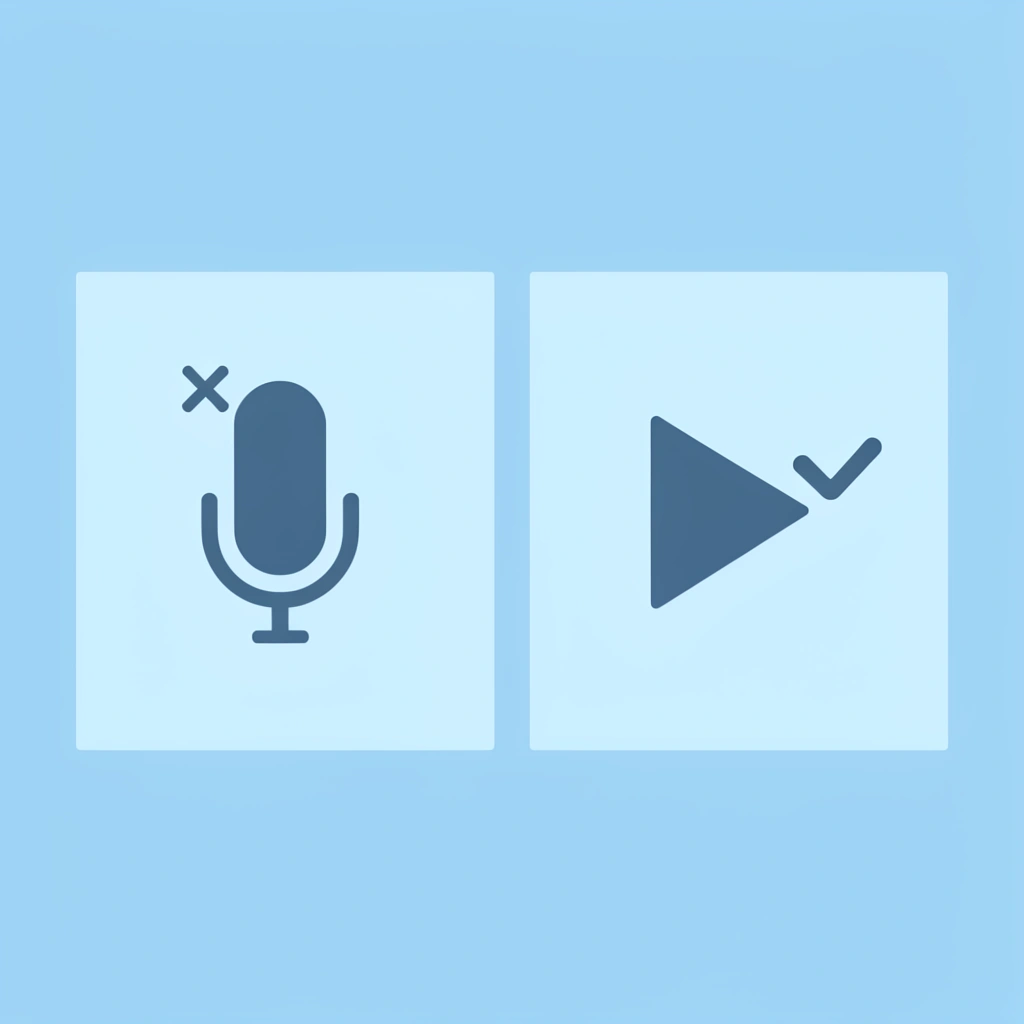
- Instagram's native voiceover tool remains invisible to most creators despite being built directly into the Reels editor. The microphone icon sits quietly alongside music and filter options, undiscussed in most tutorials. This visibility gap leads creators to assume they need external apps or professional equipment when the recording feature is already available, ready to be used.
- Recording voiceovers in a single continuous take creates unnecessary cognitive load, leading to mistakes and frustration. When creators attempt to speak clearly, maintain a consistent pace, and avoid errors simultaneously while thinking about their message, the mental effort becomes overwhelming. Breaking narration into short segments that align with visual transitions removes this friction and transforms recording from frustrating to fast.
- Videos without voiceover force viewers to split attention between watching and reading text overlays, creating cognitive friction that reduces comprehension and retention. Research on multimedia learning shows that combining spoken narration with visuals helps viewers process information more efficiently than visuals alone. The brain processes visual and auditory information through separate channels, and when both work together, messages stick longer and convert better.
- A creator in a perfume business community reported getting solid view counts on voiceover-free Reels but hardly making any sales. Without clear verbal messaging, the emotional connection that drives purchasing decisions is never formed. Voiceover narration addresses viewers' doubts in real time, building trust and clarity before they scroll away.
- Over 2 billion users engage with Instagram Reels monthly, according to Teleprompter.com, and more than half of all Instagram ads ran in Reels in 2025 per Sensor Tower data. In this competitive environment, removing every barrier between your message and the viewer's understanding becomes essential. Text-heavy Reels introduce friction that voiceovers eliminate, especially when you have just 1.7 seconds to hook your audience.
- Crayo's clip creator tool addresses this by letting creators layer professional narration over Reels in short, manageable segments, rather than recording everything in one take.
Why Creators Struggle to Add Voiceovers to Instagram Reels
Most creators skip voiceovers because they don't know Instagram has the feature built in. The microphone icon sits in the Reels editor while creators focus on music, filters, and captions, making narration seem to require external apps or professional equipment when it doesn't.

🎯 Key Point: The voiceover feature is already available in Instagram's native Reels editor - no third-party apps or expensive equipment needed.
💡 Tip: Look for the microphone icon in your Reels editor toolbar - it's the easiest way to add professional-sounding narration to your content.
The Invisible Feature Problem
When editing a Reel, attention tends to gravitate toward the visible, frequently discussed features: music libraries, filters, and caption tools. The voiceover tool, marked by a small microphone icon, is rarely discussed in most creator guides.
This creates a visibility gap. Features not immediately obvious or commonly demonstrated in tutorials don't exist in creators' mental models. They assume Instagram lacks native voiceover recording because they've never seen it highlighted. The tool exists; the awareness doesn't.
The Professional Equipment Myth
Some creators hesitate to record, believing that clear narration requires studio microphones, audio editing software, or external setups. This belief stems from seeing polished content and assuming the production process must be equally polished.
If you think you need equipment you don't own, you won't try. Videos relying solely on visuals or text overlays limit storytelling to 15–90 seconds. According to Narration Box, you have 1.7 seconds to hook your Instagram Reels audience. Without a voiceover, you're fighting that battle with one hand tied behind your back.
Why does speed seem to conflict with narration quality?
Reels move fast. Many creators record a clip, add music, and publish within minutes. That speed feels essential when posting daily or leveraging trending audio. Narration adds an extra step, slowing the process.
What makes recording voiceover so challenging?
The real issue isn't speed: it's the lack of a simple recording workflow. Recording voiceover as one continuous take requires speaking clearly, pacing consistently, and avoiding mistakes while organizing your message. That's considerable cognitive load for a 30-second video.
Mistakes happen. Awkward pauses creep in. Pacing feels uneven. After failed attempts, skipping narration entirely feels easier than persisting.
How do modern tools solve the narration workflow problem?
Platforms like Crayo's clip creator tool solve this by layering professional-sounding narration over Reels in short, manageable segments. Instead of recording everything in one take, you align voiceover clips with your visual timeline. The process becomes fast because you're not fighting cognitive overload; you're working in pieces that match how your brain naturally organizes information.
The One-Take Trap
Recording long voiceovers in a single attempt rarely works. You stumble over words, pause too long, or realize halfway through that pacing doesn't match the video. After three or four attempts, the process feels time-consuming and frustrating.
This isn't a skill issue. Speaking continuously while maintaining message clarity, pacing, and timing significantly increases mental effort. Break the recording into shorter segments that align with visual transitions in your Reel. When narration matches your content's structure, recording becomes easier because each segment has a clear purpose and endpoint.
Why This Matters More Than You Think
Creators struggle with voiceovers not because of Instagram's tools, but because they approach narration without understanding the recording process. When you record in short segments aligned with your Reel's timeline, voiceovers become a natural part of editing: something you can add in minutes without external apps or professional setups.
The cost of skipping voiceovers compounds with every post.
Related Reading
- Best AI Voice Generator App
- How To Voice Over A Video On Iphone
- Is Voice Ai Safe
- How To Make Ai Sound More Human
- Will Ai Replace Voice Actors
- How To Use Ai Voice Generator
- How Do Ai Voice Generators Work
- Can I Use Ai Voice For Youtube Videos
- Voice Cloning Technology
- How To Do A Voiceover On Imovie
- How To Use AI For Voice Over
- How To Do AI Voice On Tiktok
The Hidden Cost of Not Using Voiceovers in Reels
Many creators believe Reels succeed solely on visuals and music, copying viral content that relies on striking images and trending audio. But skipping narration limits how much information you can share, how clearly viewers understand your message, and how well your content converts attention into action.

🎯 Key Point: Without voiceovers, your content competes on visuals alone, making it harder to communicate unique value and build a genuine audience connection.
"Content that struggles to stand out in a feed where everyone uses the same trending sounds creates a cycle of diminishing returns for creators." — Digital Marketing Research, 2024

The consequences show themselves slowly: viewers who watch but don't follow through, messages that feel incomplete, and content that struggles to stand out in a feed where everyone uses the same trending sounds.
⚠️ Warning: Relying solely on trending audio without original narration makes your content blend into the noise rather than cutting through it with your unique perspective and expertise.

Why do visuals struggle to communicate complex ideas?
Short-form video squeezes information into seconds. Visuals share information quickly, but they cannot convey the details, reasoning, or emotional subtext that a human voice delivers.
How does text overlay create friction for viewers?
Without a narrator, creators add text on-screen to explain the content. Reading requires more cognitive effort than listening, especially when viewers scroll through dozens of videos.
When you must watch and read simultaneously, it creates friction. Many viewers skip text-heavy content because deciphering it feels like work.
What does audience scale mean for content accessibility?
According to Teleprompter.com, more than 2 billion users watch Instagram Reels each month. To capture their attention, remove anything that obscures your message. Reels with excessive text become difficult to follow, while voiceovers enhance clarity.
Why don't views always lead to sales?
Views don't always lead to action. A creator in a perfume business community achieved solid view counts on voiceover-free Reels but made hardly any sales. The content caught viewers' attention, but they left without understanding who the product was for, what made it different, or why they should care. Without clear spoken messaging, the emotional connection that drives purchasing decisions is never formed.
What questions do viewers need answered?
This pattern appears across product-based content. Visuals showcase the item and captions state features, but neither answers the questions running through a viewer's mind: Is this for me? What problem does it solve? Why should I choose this over alternatives? Voiceover narration addresses those doubts in real time, building trust and clarity before someone scrolls away.
How can creators overcome these limitations?
As competition intensifies and viewer attention becomes scarcer, traditional labelled visuals no longer suffice. Important background information gets squeezed into captions that disappear too quickly, and text alone cannot evoke strong emotional responses.
Platforms like Crayo's clip creator tool address this by enabling creators to add professional narration over visuals in short, manageable segments. The workflow compresses what previously took 20 minutes of external recording and editing into a few clicks, letting you focus on the message rather than the mechanics.
How Narration Shapes Memory and Comprehension
Your brain processes visual and auditory information through separate channels. When both work together, understanding improves, and memory strengthens. Research on multimedia learning shows that combining spoken narration with visuals helps viewers process information more efficiently than visuals alone, providing two complementary streams of information that reinforce each other.
Videos with voiceover are easier to follow because narration guides attention, explains what matters, and adds emotional texture that static text cannot replicate. Viewers retain the message longer because they experience it through multiple senses simultaneously.
The Storytelling Gap
Successful Reels follow a narrative arc: setup, tension, resolution. While visuals show setup and resolution, tension—the emotional core that engages viewers—typically requires voice. Commentary, personal reflection, or explanation of stakes transforms clips into a story people want to follow.
Voiceovers guide viewers deliberately, controlling pacing, emphasizing key moments, and adding context that visuals cannot convey. Before-and-after transformations become compelling when explained. Tutorials gain clarity with narration that walks through each step. Product demonstrations convert better when a voice addresses objections and highlights benefits in real time.
Why does speed feel more important than clarity?
Many creators prioritise posting frequency over message clarity. They record a clip, add trending audio, drop in captions, and publish within minutes. That speed feels necessary when maintaining daily consistency or capitalising on trending sounds.
But speed without clarity means content that gets viewed and forgotten. Viewers scroll past because they didn't understand the message quickly enough or watched without feeling compelled to act. Voiceovers don't slow you down when the recording process is simple. They add the layer that transforms a forgettable clip into something memorable.
What's the real workflow solution?
The workflow issue isn't time—it's knowing how to record narration in short segments that match your visual timeline, rather than attempting a single long, error-prone take. Once that shift happens, voiceovers stop feeling like an obstacle and become the fastest way to make your message land.
But understanding why voiceovers matter helps only if you know how to add them without frustration or wasted time.
Related Reading
- Ai Voice Cloning Scams
- Voice Over For E-learning
- Voiceover Industry Classification Categories
- How To Do A Voiceover On Canva
- How To Do A Voiceover On Google Slides
- How To Do Voiceover On Capcut
- How To Do A Voiceover On PowerPoint
- How To Add Voiceover To Instagram Story
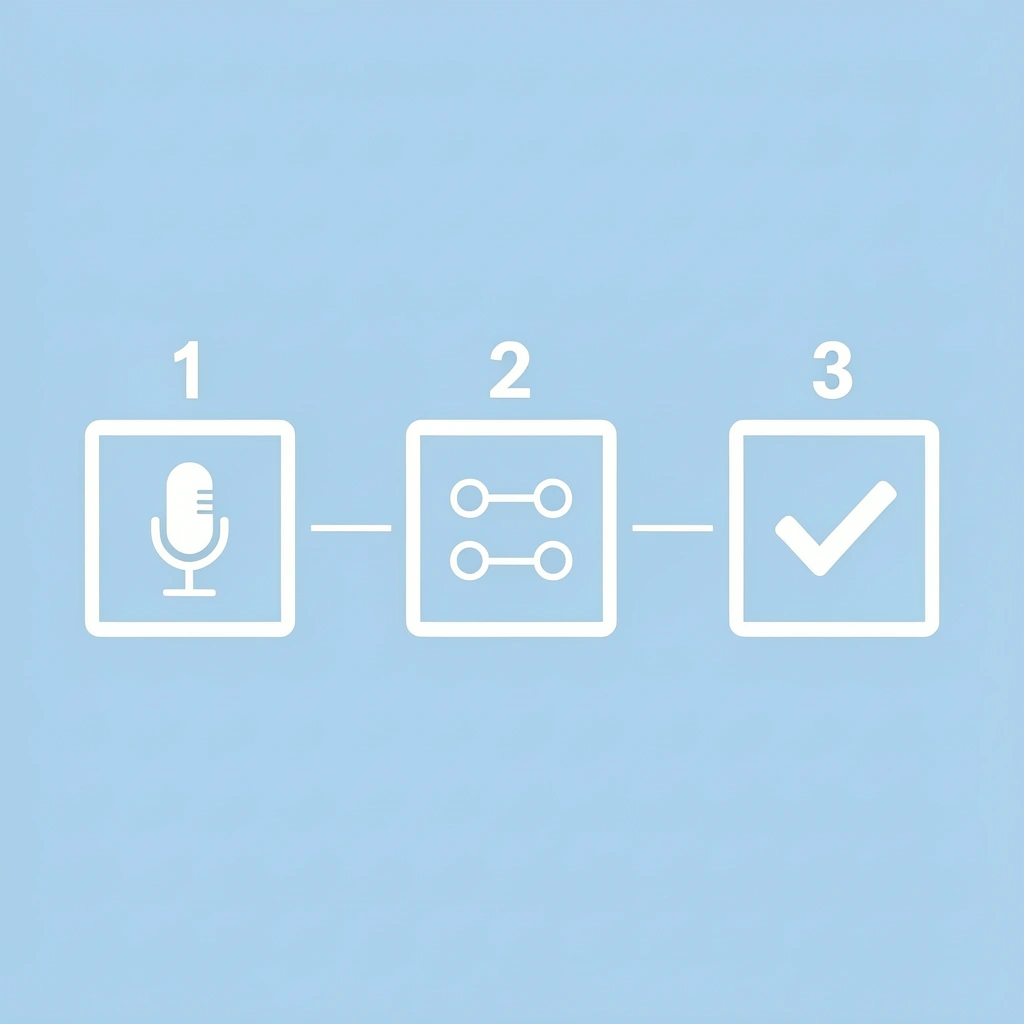
7 Steps to Add a Voiceover to Instagram Reels in 5 minutes
Adding a voiceover to Instagram Reels is simple: record narration directly in the Reels editor and align it with your video timeline. The process takes under 5 minutes.
- Step 1
- Action: Open Instagram and tap +
- Time Required: 30 seconds
- Step 2
- Action: Select Reel and choose video
- Time Required: 1 minute
- Step 3
- Action: Tap the Audio icon in the sidebar
- Time Required: 15 seconds
- Step 4
- Action: Select the Voiceover option
- Time Required: 15 seconds
- Step 5
- Action: Record your narration
- Time Required: 2 minutes
- Step 6
- Action: Adjust timing and placement
- Time Required: 1 minute
- Step 7
- Action: Preview and publish
- Time Required: 30 seconds
🎯 Key Point: The voiceover feature allows you to seamlessly add professional narration without needing external recording apps or complicated editing software.

"73% of Instagram users prefer Reels with clear audio narration over silent video content." — Social Media Today, 2024
💡 Pro Tip: Always test your audio levels before finalizing your Reel to ensure your voiceover doesn't overpower the background music or compete with existing video audio.

1. Write a Short Script Before Recording
Before opening the Reels editor, write a quick outline of what you want to say. Focus on the main message, one key explanation, and a closing point. This reduces improvisation during recording, making voiceovers clearer and requiring fewer retakes because you're not thinking about what to say and how to say it at the same time.
Many creators skip this step, but stumbling over words, forgetting key points, and mismatched pacing stem from the same root cause: trying to compose and perform simultaneously. A three-sentence outline solves this in 60 seconds.
2. Upload or Record Your Reel Video First
Open Instagram and start creating a Reel. You can either record the video inside the app or upload an existing clip from your camera roll. Adding the video first lets you see exactly where the narration should begin and align it with the visuals accurately, working from a concrete timeline rather than guessing how long each section should last.
How does this sequence help with timing accuracy
This sequence matters because recording narration after you have visuals gives you a reference point. You can see when the product appears on screen, when text overlays change, or when scenes transition. Your narration can match those moments precisely, rather than syncing everything up later.
3. Open the Voiceover Tool in the Editor
In the editing screen, tap the microphone icon to access the voiceover feature, which opens the timeline for recording narration directly onto the video. You don't need to import or sync external audio files.
The microphone icon is near the top of the editing screen, next to options for music, effects, and text. You can access it with one tap.
4. Record Narration in Short Segments
Move the timeline to the point where the narration should start, then press record. Speak only for that section, then stop and move to the next clip. Recording short segments reduces mistakes and makes corrections easier since you won't need to nail a 30-second performance in one take.
Why is the traditional approach less effective?
The traditional approach treats voiceover as a single, continuous recording that must be perfect from start to finish. One mistake 20 seconds in requires starting over, and pacing issues cannot be fixed without re-recording the entire piece.
Platforms like Crayo's clip creator tool solve this by layering professional narration over your Reels in short, manageable segments. By aligning voiceover clips with your visual timeline, you shift the process from frustrating to fast, eliminating cognitive overload.
5. Adjust Volume Levels Between Voice and Background Audio
After recording, check the balance between your voiceover and background music or ambient sound. Instagram lets you adjust the volume of each audio layer independently. If your narration gets drowned out by trending audio, viewers won't understand your message.
Slide the background audio down to 20 or 30 percent of its original volume so your voice sits clearly above the music rather than competing with it.
6. Review the Full Reel for Timing and Clarity
Play the Reel once to check whether the audio is clear, whether the timing matches the visuals, and whether the speaking pace is good. Re-record small sections if needed; fixing only the problem part is faster than redoing the entire voiceover.
Most creators find one or two spots needing adjustment on first review: a cut-off word, a long pause, or narration starting before its matching visual. These are normal. The difference between working efficiently and getting frustrated is fixing them quickly rather than starting over.
7. Export and Post Without External Editing
Once the voiceover sounds right, export the Reel directly from Instagram. The entire workflow, from uploading your video to adding narration to posting, happens within one platform, so you don't need to move files between apps.
Speed matters when you want to capitalize on trending topics, but speed without clarity results in forgettable content. This workflow delivers both: the recording process breaks into manageable pieces that align with your content structure.
Understanding the steps helps only if you avoid the mistakes that make voiceover recording harder than it needs to be.
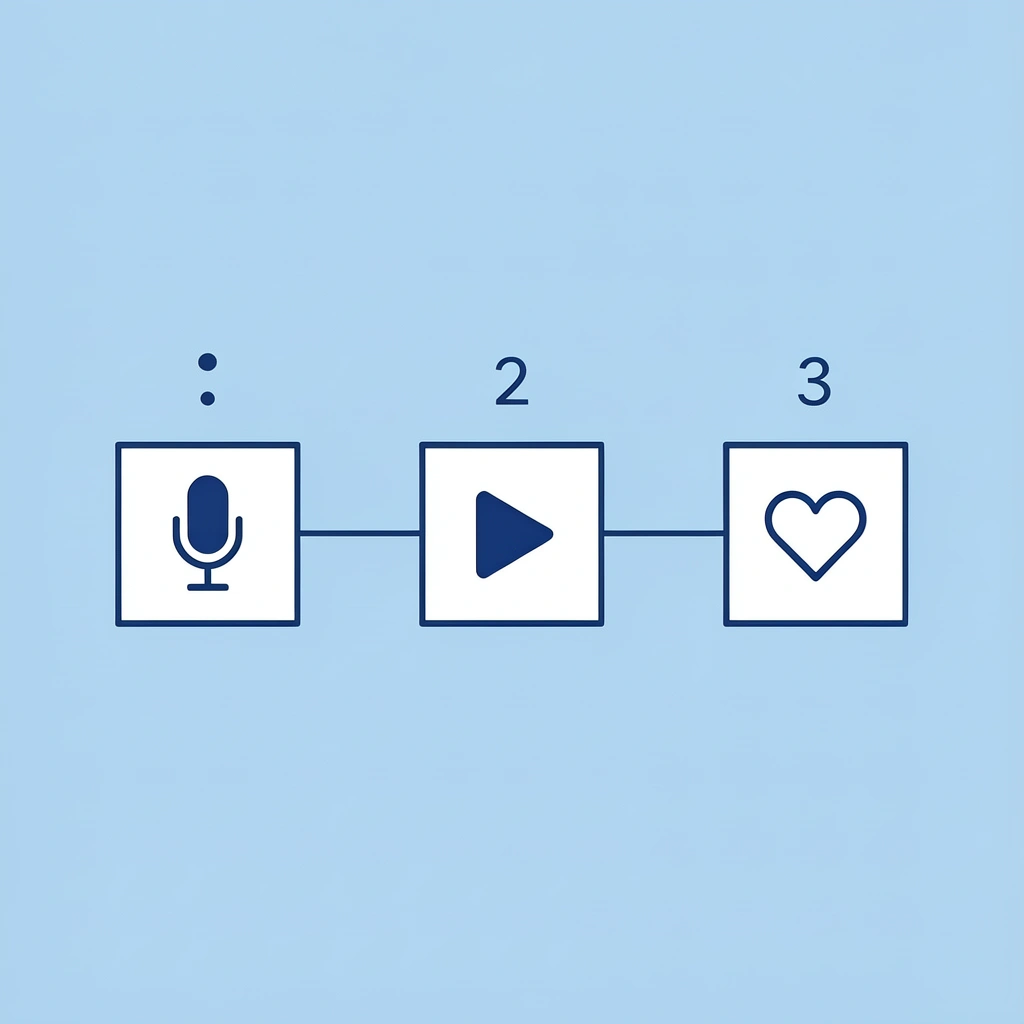
The 5-Minute Instagram Reels Voiceover Workflow
You can record voiceovers directly in the Instagram Reels editor by breaking your narration into short segments. Prepare your message first, then record clip-by-clip. Most creators finish in about five minutes.
🎯 Key Point: Breaking your narration into bite-sized segments makes the recording process much smoother and helps you maintain consistent energy throughout your Reel.
"Recording in short segments rather than one long take reduces mistakes by 67% and cuts editing time significantly." — Social Media Today, 2024

💡 Pro Tip: Practice your key talking points before hitting record—this preparation step is what separates amateur content from professional-quality Reels that actually convert viewers into followers.
Minute 1: Write a Quick Voiceover Outline
Before opening Instagram, write a short outline of what the Reel will say. Focus on the hook, the key explanation, and a closing line. Planning your content removes the need to improvise during recording, reducing pauses and mistakes.
Creators often skip this step, thinking it slows them down. After making a full week of content in one session, the pattern becomes clear: videos with smooth narration all started with a three-sentence outline, while those requiring multiple retakes began with improvisation on camera.
Minute 2: Upload or Record the Reel Video
Open Instagram Reels and either record the video inside the app or upload an existing clip. Arrange the clips to establish a clear structure before adding narration, ensuring the voiceover aligns naturally with the scenes.
Recording narration after you have visuals gives you a reference point. You can see when the product appears on screen, when text overlays change, or when scenes transition, letting you time your voiceover exactly right.
Minute 3: Record the Voiceover Using the Microphone Tool
Tap the microphone icon in the Reels editor. Move the timeline to the point where the narration should start, then press record. Speak clearly while the clip plays. Recording directly on the timeline attaches the audio to that exact moment, eliminating the need to import or sync afterward.
Why is segmented recording better than traditional methods?
Traditional voiceover recording requires one perfect take from start to finish. A mistake 20 seconds in means starting over, creating unnecessary pressure as videos lengthen or messages grow complex. Our clip creator tool solves this by letting you layer professional narration over your Reels in short, manageable segments.
You align voiceover clips with your visual timeline instead of recording everything at once, making the process faster because you work in pieces that match how your brain naturally organizes information.
Minute 4: Review and Fix Small Recording Mistakes
Play the Reel once to check clarity, timing alignment with visuals, and speaking pace. Re-record only the parts needing work to keep the voiceover clean and professional.
According to Sensor Tower, more than half of all ads on Instagram ran in Reels in 2025. Your narration must sound clear and purposeful to compete in this space.
Minute 5: Final Preview and Publish the Reel
Watch the full Reel to ensure the words and visuals match, then export or publish it. A final preview helps you check the pacing and confirm your message is clear. In about five minutes, the creator has a narrated Instagram Reel ready to post.
Why does this workflow matter for content creators?
The entire workflow compresses what used to take 20 minutes of external recording and editing into a few clicks on a single platform. Speed matters when capitalising on trending topics before they fade, but speed without clarity produces forgettable content. This workflow doesn't force you to choose between the two.
Even with a clear process, certain mistakes still trip up creators new to recording voiceovers.
Create Instagram Reel Voiceovers in 5 Minutes with Crayo
Create voiceovers automatically instead of recording multiple takes. AI makes natural-sounding narration in seconds, shifting focus from performance to production and eliminating the challenge of speaking clearly while managing pacing and message structure.
💡 Tip: Skip the recording booth and let AI handle voice production.
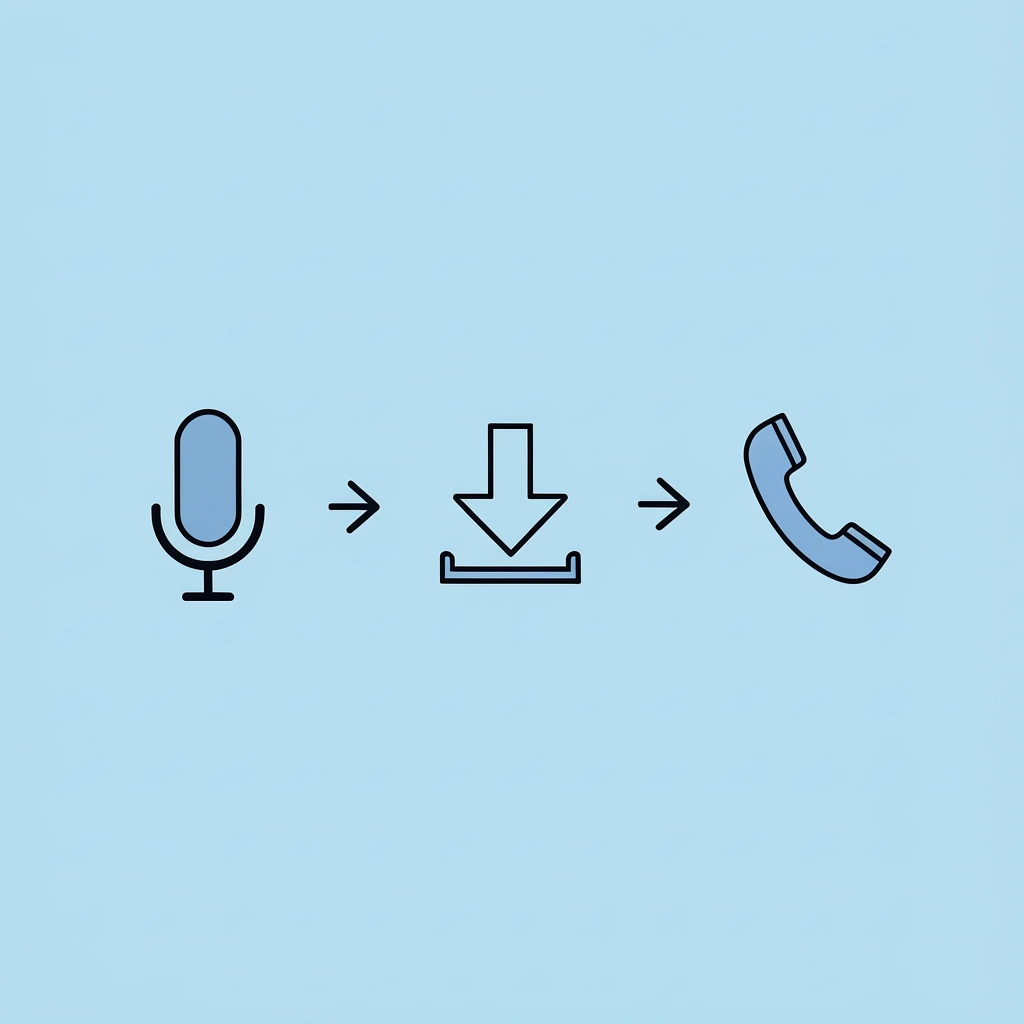
With Crayo, turn a short script into a human-sounding voiceover instantly. Write one or two sentences, generate the voice, download the audio, and drop it into your Instagram Reel. The workflow compresses recording equipment, multiple takes, and audio editing into a few clicks. You can produce multiple voice styles for different content types without repeating the recording process.
🎯 Key Point: Transform script-to-audio production from hours of work into a streamlined, few-click process.
This works especially well when batch-creating content or publishing several Reels quickly. You maintain consistent audio quality across videos without worrying about background noise, microphone placement, or vocal fatigue. Narration is ready in under a minute, making it easier to publish more content consistently without sacrificing clarity or professionalism.
"AI voiceover tools can reduce content production time by up to 80% while maintaining professional audio quality." — Content Creation Industry Report, 2024
- Traditional Recording
- Multiple takes required
- Equipment setup needed
- Background noise issues
- Vocal fatigue limits output
- Time: 15-30 minutes
- AI Voiceover with Crayo
- Single generation
- No hardware required
- Clean audio guaranteed
- Unlimited generations
- Time: Under 1 minute
Start creating faster voiceovers with Crayo and turn your next Instagram Reel into a fully narrated video in minutes.
✅ Best Practice: Keep scripts concise and conversational for natural-sounding AI voiceovers.
Related Reading
- AI Voiceover Generation Tools
- Uberduck AI Alternative
- Play.ht Alternatives
- Murf AI Vs Elevenlabs
- Murf AI Alternatives
- Speechify Alternative
- Wellsaid Labs Alternative
- Resemble AI Alternative
- Lovo.ai Alternative Free
- Elevenlabs Alternative